Showing posts with label Sculpture. Show all posts

Tuesday, 1 December 2015

Armature Tutorial

Things you will need:-
Wire
Masking tape.

When sculpting animals it's best to start with a wire armature, especially if those animals are going to be standing. Any thin bits that stick out, for example legs, arms and tails need to be a fairly hefty gauge wire.
you can get away with thinner wire in places that have a thicker layer of clay.

When I make horse armatures I start with a picture of a horse skeleton, that way I know I have an accurate foundation to start sculpting from, and it takes out a lot of the guesswork. So the first thing to do is to print out a picture of the skeleton of your animal at the size you want to sculpt it.

Now to make the armature....Starting at the hip, follow the shape of the ribcage with your wire as closely as you can, going back to the hip and then turning the end of the wire back towards the head before you cut it. Now use your masking tape to tie together those loose ends (and save your fingers from pointy bits of wire!)


 Next make a small loop inside the head and follow the shape of the spine, until you reach the end of the shoulder blade. Now tape it to your ribcage as shown below.


 Next we will add the legs, making sure that you have enough wire to make both front legs, fold your wire in half, and starting from well behind the shoulders follow the bones of the leg, making sure to bend both pieces of wire at once. You can either cut the wire to length, or leave it long if you want to mount your model on a stand. tape it to your armature as shown below and repeat the process for the back legs.


The tail is simply wrapped around the armature as shown below. I use a piece of wire bent double and I twist it all the way down the tail.


Next I wrap all the exposed bits of wire with masking tape, so that the clay has something to grip to.
By now you should have something that looks like this......


The best thing about these armatures is that you can play around with the poses until you get exactly what you want, these little guys have a lot of life and character to them, unlike the cardboard cut out I used previously!

I hope this tutorial will help somebody, I'm not a particularly brilliant artist, but I'm getting good results with this method.

Wednesday, 11 November 2015

Scrumpy The Pony - The Final Chapter

Poor old Scrumpy, to add insult to injury, while I was getting the paint off, I broke his tail in half. So out came the superglue! Having scraped as much paint off him as I could, obviously having to leave the offending pinky-grey mess on his mane and tail, I covered him with a layer of yellow ochre acrylic paint, my reasoning being that the yellow would turn the pink more of an orange colour, which I could just about live with.


Scrumpy a l'orange!
  
I decided to paint him as a blue roan appaloosa, in the end it wasn't the best paint job in the world, but I just wanted to get him finished so that I could move on to something else. He still has a pinky-grey mane and tail, that dodgy pigment seems to travel up through all the layers of paint.
Moral of the story: Don't be a cheapskate!

Scrumpy's apples! (spots)

Is this my best side?

Didn't turn out too badly.

Mane and tail are still pinky...

Who's a pretty boy then?

Tuesday, 25 August 2015

Scrumpy the Pony Part Four

So by now, what had originally been intended to be a simple little project had turned into a nightmare build. Pretty much everything that could go wrong had gone wrong, and there was more to come....

While picking off the paint I started to discover soft spots where the paper mache was collapsing underneath the clay. The only way to deal with this was to push the clay in as far as possible and fill the in resulting hole with clay or tinfoil then clay depending on the size of the hole.

Huge hole on hip filled with tinfoil and clay.
.
air dry clay horse sculpture
Holes underneath chest and at top of rear leg filled with clay.

Huge hole on rear filled with tinfoil and clay.


Monday, 24 August 2015

Scrumpy the Pony Part Three

It was time for Scrumpy to get a paint job, so that the clay and paper mache would be sealed and hopefully he'd look like a proper little horse with some colour on him. I used acrylic paint that I bought in the 99p shop, (the alarm bells should have started ringing right there, but I've bought some good stuff there before).
I started with a layer of black, because the clay dries white and it makes it easier to see which bits you've done, but also because I like to paint from dark to light.
When I checked him several hours later, something interesting had happened, the paint had developed a crackle finish, which I'd never encountered with acrylics before, and the pigment had sort of separated so that he was black with bright pink crackles!

Pink is the new black....apparently.

Friday, 21 August 2015

Scrumpy the Pony Part Two

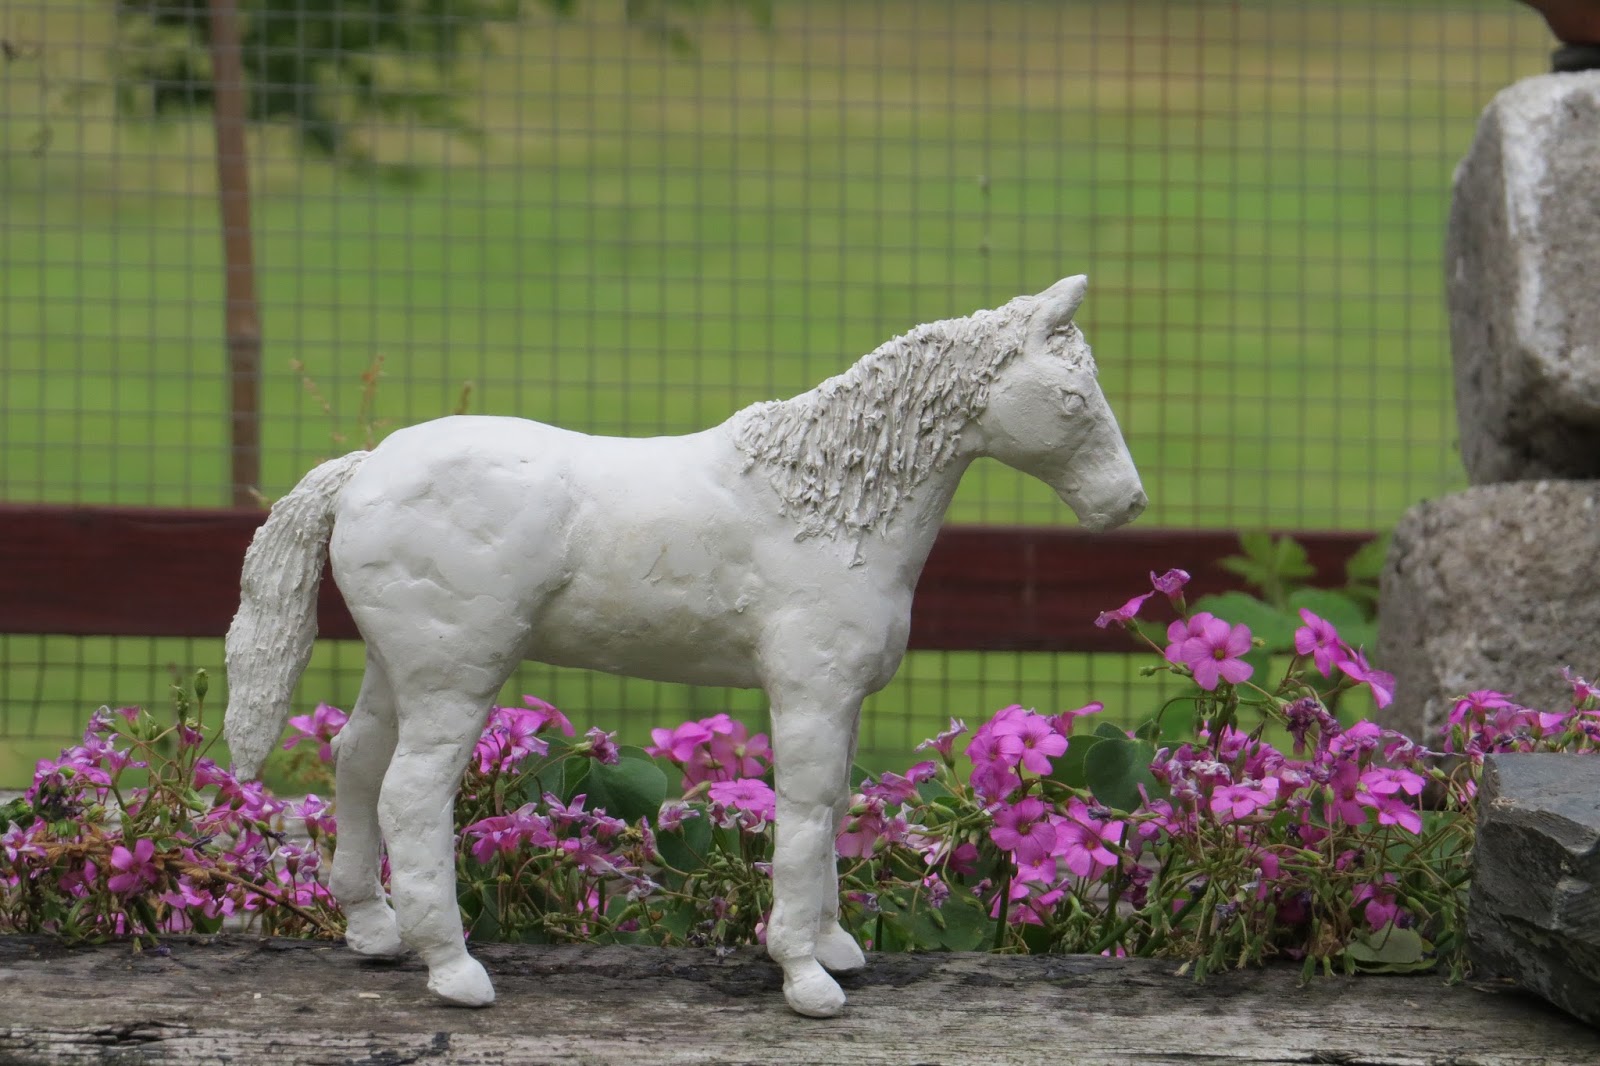
I added Scrumpy's ears and finished him up, but something didn't look quite right. His legs had splayed out a little bit because his cardboard frame couldn't quite support his weight, and I realised I'd made his knees too big. Knee surgery was the only option!

I hacked the clay off his knees, and pulled all the paper out. Then I re-sculpted his knees with some fresh clay, making sure to push the clay well into the void left by the paper. A day later he was dry and looking perky and none the worse for his major surgery. I took him into the garden for a photo shoot.


air dry clay horse scuplture
Scrumpy enjoying the outdoors.
This little fella wanted his pic taken too!

Thursday, 20 August 2015

Scrumpy The Pony - Part One

Having decided to make a fully three dimensional figure, and being too scared to make a model of our dog, I thought I would start on familiar territory and make a horse. Now a horse is just about one of the hardest things you can make, but as a child I adored horses and spent countless hours drawing them, visiting them at the local fields and playing with little plastic models of them. A horse for me would be an easy project.
In theory.

Having done extensive research on Youtube, I determined that I would opt for a paper mache base with clay over the top. I saw a beautiful model made this way at Ultimate Paper Mache
I started by tracing the outline of a real horse from a book, then transferred the outline to corrugated cardboard (making sure to make an extra set of legs!) Next step was to cut the pieces out. Then the body was bulked up with newspaper and tightly wrapped with masking tape. Easy peasy! The same process was used on the legs, and then I added a couple of layers of paper mache and gave it a few days to dry. At this stage my sculpture was starting to look like a Welsh Mountain pony, and I duly christened him Scrumpy. Luckily we were smack bang in the middle of a heatwave, and he was bone dry in no time.


Now I was ready to add the clay, and after a couple of layers he was looking really nice. I was very happy with him.

air dry clay horse sculpture